
After the water pump I figured I'd bolt the torque converter to the flex plate. Upon crawling under the car, I realized the bolts I thought were for the converter were actually some extra bolts I had for the flex plate. I looked through my box-o-bolts, and couldn't located anything that would work. I instead concentrated on the wiring harness and figured I'd take a walk to the nuts and bolts store in a bit.
The wiring harness wasn't nearly as bad as it looked in the picture. Once I got the main splits separated, it all started to sort itself out. Soon I had it organized enough that I placed the fuse block in the car and ran the main leads to the trunk and under the hood. What was left should be easy enough to figure out, its basically the steering column harness, ignition, low/high clicker for the lights, and dash power. Not much else left to figure out. I do need to re-solder all the lights in the front, as I simply cut the harness...I must have been in a hurry.
After a trip to the nut and bolt shop I crawled back under the car and bolted up the converter. After that I decided to start cleaning up the hood hinges and gas tank with a wire wheel to prepare them for paint. I also sprayed down the steering box and checked the lines I had for fitment. I was happy to find what I have will connect fine. I'll double check to see whether this more modern box requires a different pump or not. If so, I will likely need new lines. Tomorrow I hope to mount the steering box, perhaps work on wiring up some of the electrical, and get some paint on that tank and hinges.
I go back to work on Monday. I hope to have the brake calipers on, rotors cleaned up, and hood on the car by then. If I can get all that done, I'll be sittin' good.


 This is the mess I started with.


 Engine bay/front light harness.
 The harness looks much cleaner/manageable once I got the front and rear feeds out of the way.
 Tail light harness.


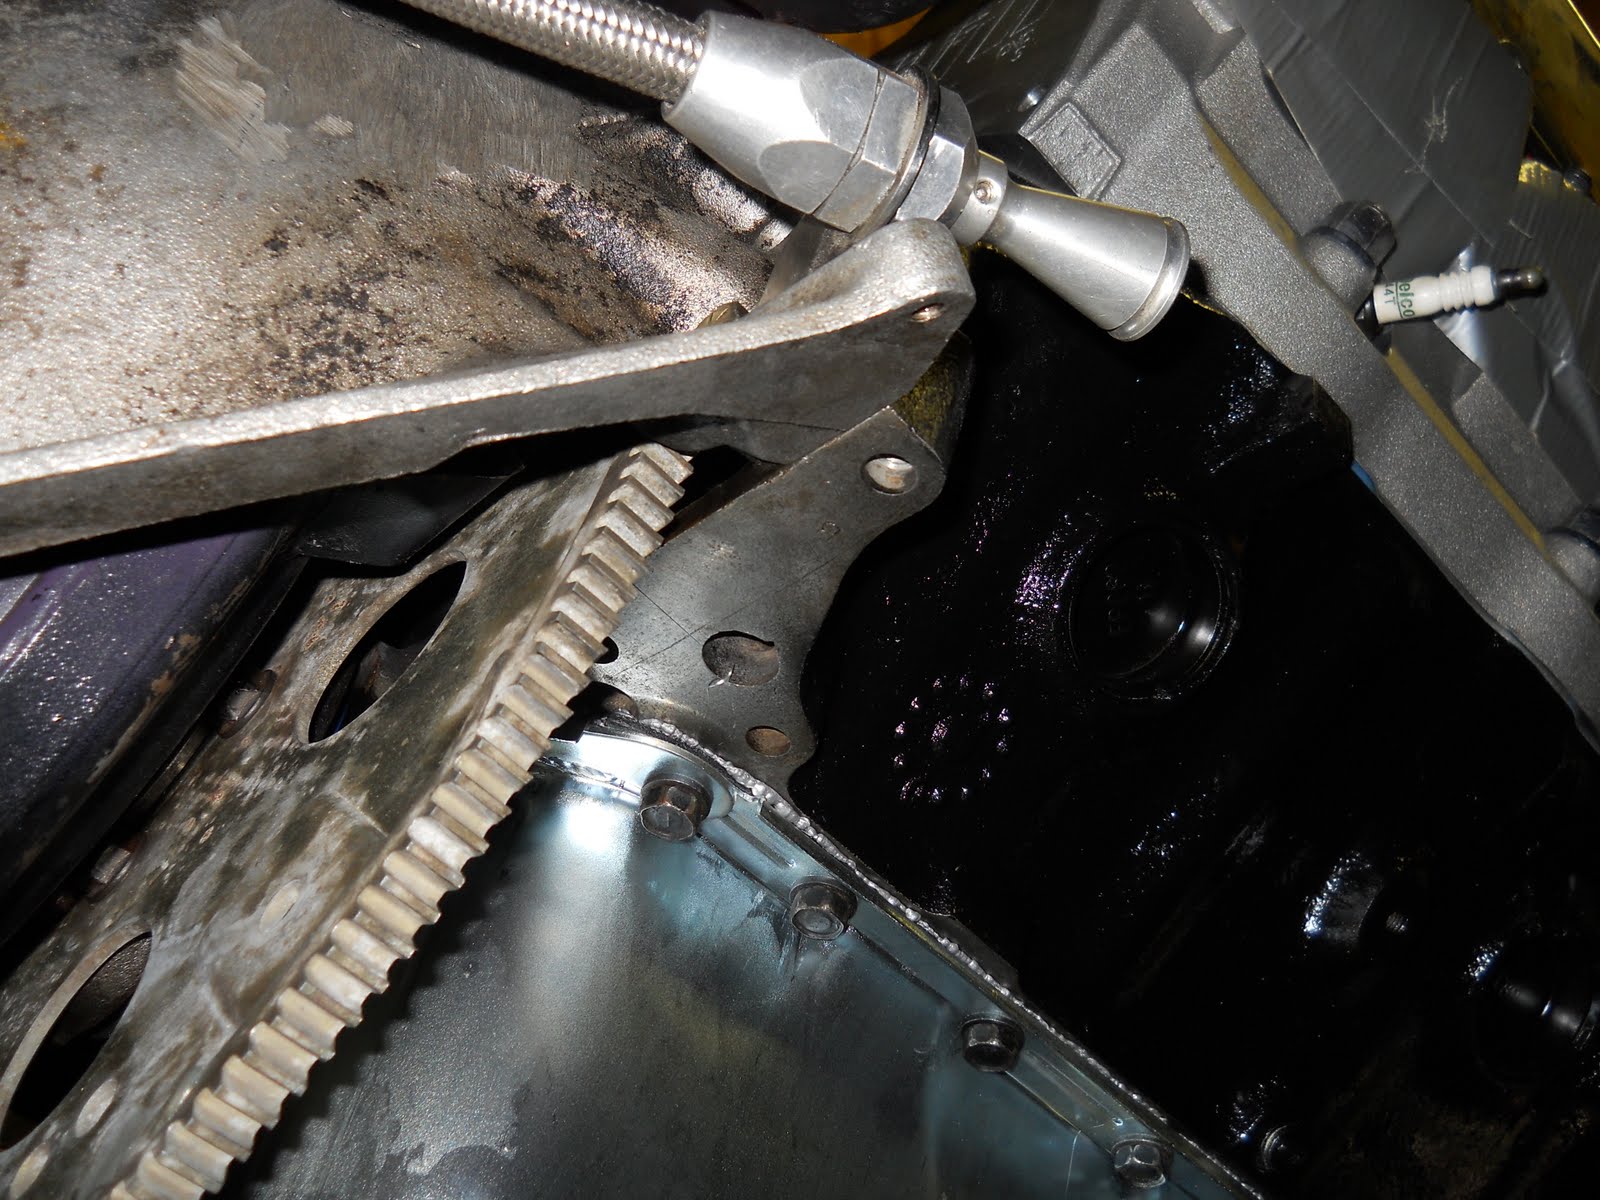


 Engine, meet Trans.


 Point of no return, nervous as hell.


 You can stare at it all day, but it won't find it's way onto the mounts by itself.


 Thank you for your services!


 Driveshaft in place.