


My Camaro has been reincarnated many times, sometimes just with engine rebuilds, other times with superior parts upgrades, and even one ground up restoration that removed every possible nut and bolt. My last edition was a solid 11.70 1/4 mile car that was a blast to drive and perfect in almost every since, except for one, I still wanted to go faster. After a total restoration just a few years earlier, I found myself gutting my car once again, removing most every component aside from those needed to roll the car around, in preparation for a roll cage.

Who: Supersport
What: A 1969 Camaro
Where: Detroit, MI
Engine


Cylinder Heads: Currently, GM's legendary rectangle port LS6 heads from back in the day. I feel that my last engine pushed these heads to their limits, and an upgrade is in the works. I was initially leaning towards a set of AFR heads, though the $3,300 price tag was just to much to swallow. I now think I'm going to go with the much lesser known Canfield aluminum heads, which offer just about as much bang, though for significantly less buck! I'm going to reused some components, if possible off my current heads, which include Ferrea Valves, Titanium locks and retainers, ARP rocker studs, and Harland Sharp roller rockers. For springs I will go with Comp Cams recommendation.
Studs: ARP studs throughout
Camshaft: Comp Cams solid roller cam with .678/.688 lift, dur @ .050 266/272, and a lobe separation of 110 degrees.
Lifters: Comp Cams 819-16 solid roller lifters
Crankshaft: GM Forged Steel Nitrated LS6 crankshaft.
Connecting Rods: Currently GM 3/8 rods with ARP bolts, these will be replaced with an aftermarket set, though I have yet to settle upon a brand.
Pistons: Forged Pistons with around 11 or 12-1 CR
Induction/Fuel: Currently, I have a Victor Jr intake. I picked it up at a swap meet, later to find that it was actually their last generation version, which gives up about 500 rpm on the bottom end. For the power range I am building for, it seems more than sufficient, so I may very well stick with what I got so save a little money. For carburation, I am sold on the Barry Grant carbs, which I have ran previously. My 750 Race carb went with my Challenger though, and wouldn't have been enough for this engine anyways. I have yet to decide on a carb, though have pondered one of their King models, I am leaning towards my quest to make this car powered by E85. We'll see what the next couple years hold for this fuel, whether it is a passing fad, or if it will stand the test of time. The increased compression you can run due to the higher octane, combined with a price that seems more affordable with each passing day, may be enough to win me over. I also have a nitrous kit, good for up to 250 hp, along with a tank mounted pressure gauge, bottle warmer, and purge kit. I got all this from a friend from some ridiculously cheap price around $125 I think. For the fuel system I'm planning on an Aeromotive electric pump and regulator with 1/2 inch fuel line coming from a new gas tank. I haven't decided whether or not to use a fuel cell or a baffled steel tank, offered by Aeromotive. I'll have to check the safety requirements at the dragstrip, as that could influence my decision.
Exhaust System: I'll use what I got in this case, which is a set of Heddman headers with 2 inch primaries with 3 inch collectors, dumping into duel 3 inch pipes leading back to a set of Flowmaster 2 chamber mufflers. I may add a crossover pipe later on down the road, but for now, I'll bolt on what I got. Building an engine with 900-1,000 hp, some may suggest a larger exhaust system. However, I feel that my car was already beyond the sound level of what is considered sensible, so I'm going to refrain from any changes that would only make it louder. That being said, those cutouts activated by electronic solenoids could find their way to my car some day. :)
Ignition System: I currently have an MSD small diameter pro-billet distributor which I will reuse. I also have an MSD 6AL box, though will likely upgrade to something with built in timing retard for the nitrous use. Aside from that, a set of Taylor wires and AC Delco plugs finish up the spark.
Cooling System: I bought the biggest Griffin radiator I could fit between the fenders, then purchased two sets of duel electric fans, complete with shrouds, for a total of 4 electric fans. Needless to say, even in the most extreme conditions, I don't deal with overheating problems. The water pump is an Edelbrock Victor Jr aluminum unit.
Oiling System: I found out the hard way that my last oil pan was not a good choice. It wasn't until it was installed in the car and ready to go that I realized it hung below the crossmember, and was the lowest point on the car. While it's 8 quart capacity was nice, I will have to take into account clearance issues next time around and get something that doesn't make my asshole pucker when I slam a pothole and look in the rearview mirror anticipating a trail of oil. To let ya know just how bad it was, just prior to parking the car for good I had exactly two flat sides left on the drain plug bolt, the rest had been rounded off from numerous encounters with the pavement. So aside from a new pan, I'll get a new pump/pick-up, and possible a remote mount oil cooler to compliment my trans cooler.
Transmission: Rebuilt TH400 with a few minor modification for strength, also converted to a manual valve body. I may reinstall the transmission as is, or perhaps just do an inspection prior, as it only had a few thousand miles on the rebuild and functioned flawlessly.
Cooling: Remote mounted cooler in the grill.
Torque Converter: Coan 10 inch with a 4,200 stall. I may send it back to Coan, have it flushed and inspected, just to be safe. When you spend close to $700 on a converter, I think it's wise to take the "better safe than sorry" approach.
Shifter: Currently a B&M Megashifter, though I plan on replacing it. I never liked how sloppy this model shifter felt and will upgrade to something tighter, perhaps a B&M Pro Stick.
Drive Shaft: Currently a stock 3 inch diameter shaft with new u-joints. This will be replaced by something a bit stronger.
Rearend
Posi-traction Unit: Currently stock, though will be replaced most likely by a Detroit Locker.
Gears: Currently a set of Richmond 4.10's, which I think I will stick with.
Axles: Stock, though will also be replaced with a set of either Moser or Strange axles, as well as a set of C-clip eliminators to keep them from exiting the rear in case they snap at the dragstrip.
Suspension/Steering


Steering: I have the first Ididit column made for a 69 Camaro, as they used my car to mock up the columns for production. In addition, I have a Lecarra steering wheel with leather wrap and polished aluminum 4 spoke design. My steering box took a shit just prior to parking the car, springing a leak and losing pressure. I plan to upgrade to a Flaming River rack and pinion bolt in setup. This should not only tighten up the steering, but also drop some pounds off the nose of the car.
Leaf Springs: Stock, which I plan to stick with for now.
Front Coil Springs: 2 inch drop small block springs, which turned into 4 inch drop springs when I switched to a big block. These will likely be replaced with a set of Moroso Trick springs to help improve launch and 60 foot times. The kicker is, I like my ride sitting "in the weeds" low, so those springs will get chopped to obtain a more appropriate stance.
Traction Bars: Currently a set of South Side Machine lift bars. While CalTraks seem to be the latest hot ticket, I think I'll stick with my SSM bars until maybe later on down the road when I decide otherwise.
Shocks: Currently just a set of KYB shocks. I'll likely at least upgrade the front shocks to a set of adjustable shocks while replacing the springs. As for the rears, swapping in something different likely wouldn't happen until after some time at the track to see how the current set perform.
Front Rubber: New stock replacement.
Rear Rubber: All poly to stiffen things up and help on launch.
Front Sway Bar: Stock, with new stock rubber.
Brakes
Brake System: With my current system almost completely removed, an upgrade was already in the works. Previously I had a factory power brake set up with a vacuum canister. Even so, after a couple of pumps the vacuum was gone and they resorted back to manual brakes. I was never able to take the first turnoff at the track, and was often on them hot and heavy to make that second turn. Increased speeds means increased braking, and an aftermarket see are in the works. I may very well stick with my rear drum setup due to the less drag, but the fronts will see larger rotors, better calipers, and either a conversion to full manual, or maybe some sort of hydroboost setup.
Roll Control: I already had my Hurst Roll Control installed before, and it will find it's way back on for help with those smokey burnouts and hard launches.
Wheels/Tires
Wheels: Weld Pro Stars, 15x6 up front, 15x8 out back
Tires: Something nice and sticky, a DOT approved tire could for runs at the track, with a set of skinnies up front to compliment the look I'm going for.
Interior/Electrical


Seats: Currently I have the stock front and rear seats, which have been restored. I'm leaning towards keeping the rear seat in, even though it's nearly impossible to access with the cage, it's more simply to keep the interior looking more like that of a street car as opposed to a race car. The front seats will likely get replaced with something set up for 5 point harnesses with the access holes in them. I'm not going with the fiberglass lightweight stuff, but something that is comfortable and looks good.
Carpet: The carpet will once again be house carpet, in a deep purple plush that matches the color of the car.
Safety: Safety is much more stressed this time around, as traveling 116 mph at the track with nothing more than a lap belt and open face helmet probably wasn't among my brightest moments. This time I will have a full 12 point cage, 5 point harnesses, closed face helmet, fire suit, and a kill switch that actually kills the power to my car.
Door Panels: I'm either going to have to modify what I got, or make new. The cage doesn't allow me to use my stock interior door handles, and the large holes in the panels where they mount will cause an issue. The interior is one of the last things I'll complete, so I have plenty of time to consider my options. I'll likely make may own and add a set of billet aluminum window cranks and arm rests.
Dash: The roll cage took away any option of reusing the stock dash cluster, so I'm going to have to search for a new way to install all my gauges. I'm going to check into these aftermarket blanks they sell, as they may solve all my problems and allow me to mount everything the way I want.
Stereo: A loud exhaust requires an even louder sound system. I have a fairly good CD player with 4x45 watts or so, some good front speakers as well as 6x9's, but there were times when the music still couldn't be heard over the car even at full volume. This time, something packing more punch is in order, with an amplifier boosting the power to higher levels. While I haven't even began to think about my options, it will be a thumpin' system. A system that will actually over power the sound of the engine, which can actually get quite annoying, like migraine headache annoying when traveling down the freeway at 70 mph and 3,700 rpm's.
Gauges: This is almost all covered, as I bought all Phantom gauges some years back. I already have a 5 inch tach, 5 inch 200 mph speedometer, with 2 5/8 gauges for fuel level, oil pressure, water temp, voltage. The only additional gauges I will likely add are a nitrous pressure and fuel pressure, both of which will likely be mounted outside the car on the cowl panel.
Wiring: I completely redid all the wiring with an EZ Wiring kit years ago. Only changes I may make are the addition of LED tail lights that recently came out.
Battery: I already have a battery relocation kit mounted in the trunk, though my battery may no longer be up for the test. This time around perhaps I'll go with a dry cell batter, as I've heard nothing but good about them.
Starter: Tilton high torque mini starter.
Paint/Body


Body work: As for the body, we did some minor modifications (well, my body man did) to make the car look a lot cleaner. We welded up most all the holes for the emblems, aside from the "SS" on the front and rear of the car. I also left off the stainless trim around the wheel wells, and welded up the holes for the stainless rocker molding. The seams on the panel between the rear deck lid and window were also welded up and smoothed. Aside from that, I replaced the stock flat steel hood with a Glasstek fiberglass 4 inch cowl along with hood pins. I had a little rust come back after a few years on the deck lid and am pondering a Glasstek replacement as well, to drop a few more pounds. I replaced the front and rear bumpers with new and had the rear bumper guards re-chromed.
Color: The color I went with is actually a Chrysler color, Plymouth Prowler Purple. I got tons of compliments no the car when it first hit the road, and it's not a common enough color that the same will probably be true when it hits the road again in a few years.
So there you have it, my full game plan mapped out. While I'd like to drop a few more pounds off the car, I'm really running out of options, because I want the car to continue to look like a street car, maintaining it's full interior and other creature features like a stereo. As stated, the Canfield heads will drop some pounds by replacing their cast iron counterparts, though probably not enough to offset the 100-150 lbs from the cage installation. The rack and pinion should help drop a few as well, in the very desirable nose end of the car. I already have an aluminum intake, radiator, water pump, glass hood, my heater box removed, a mini starter, and am considering a glass deck lid as well. A plexi-glass rear window even crossed my mind. Even with all that, the car will still likely be close to the 3,400 lbs it was before.
I'm confident that the planned build should be more than enough to propel a 3,400 lb car to 9 second 1/4 mile times though, and that's my main goal anyways...for this build at least. :) Who knows what the future for this car holds, but if I was a betting man, I'd say that an LS series small block and 6 speed will likely be involved next time around, as either road course racing or something like the Pony Express 130 and Bonneville 100 always seemed like fun to me. Plus, at some point I wanna see the American countryside, and I refuse to do it in anything other than a classic car. With gas prices continuing to climb, that will have to be with a modern day drivetrain to keep the cost of such a trip affordable.


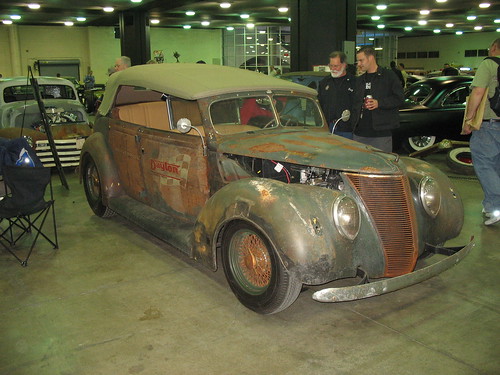
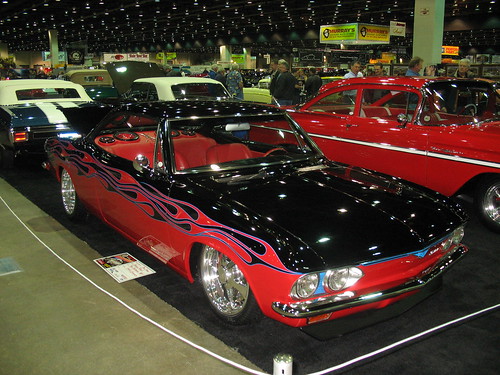
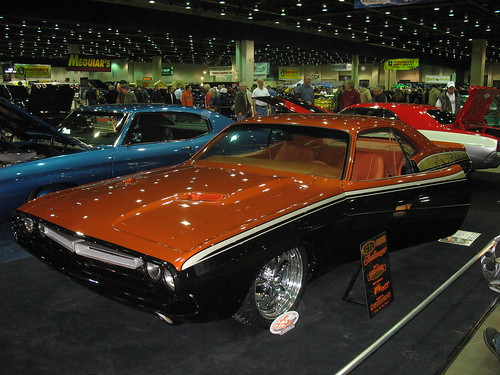
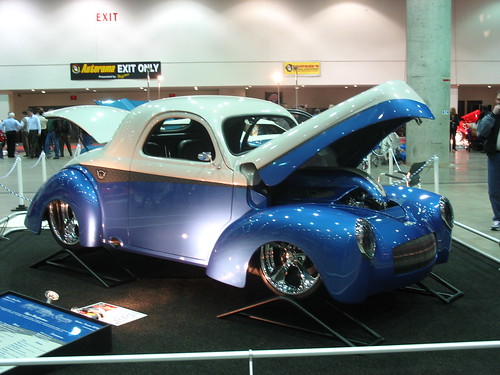
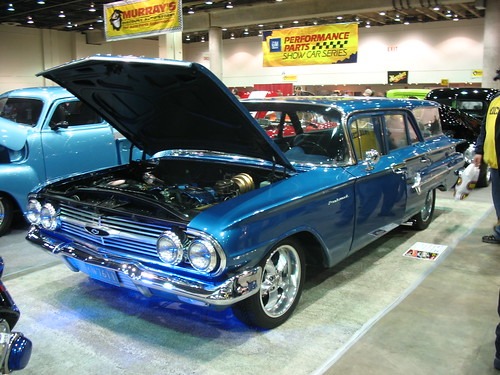
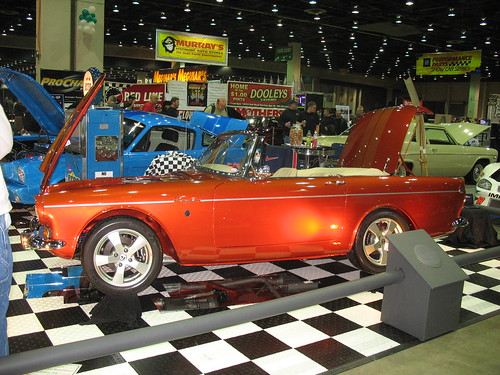
 Cool display.
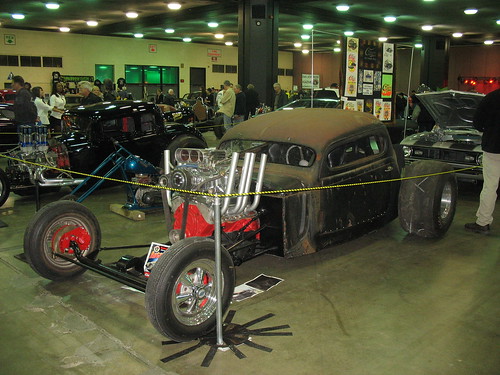
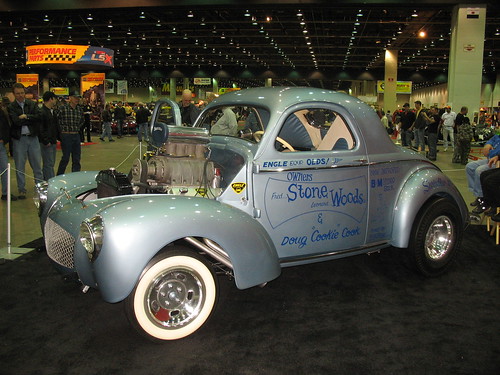
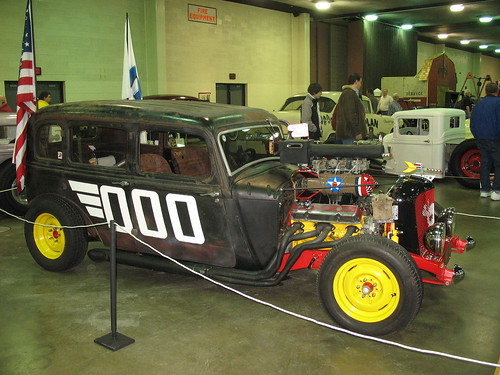


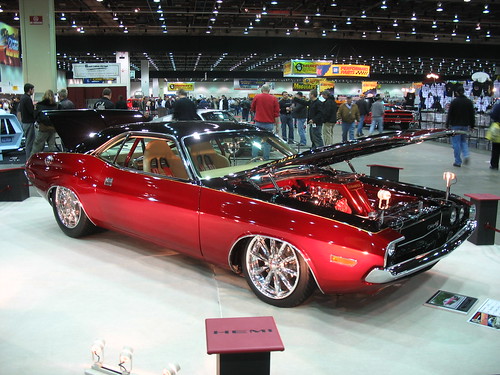
 One of several customized Dodge Challengers. While I like most of the customizations, especially the flush/painted bumpers. About three cars had 18 in front and 20 inch tires on the rear, which I found the rears to look stupid in my opinion. One Cuda had 17's up front, 18's out back, which I consider to be the perfect combination.
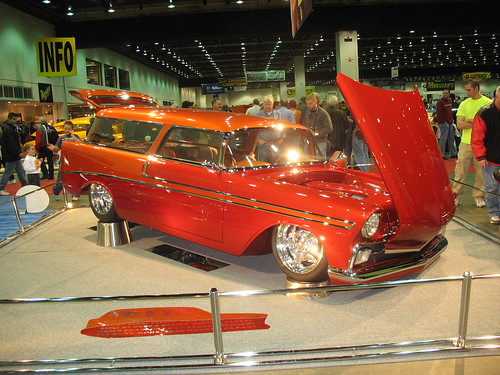


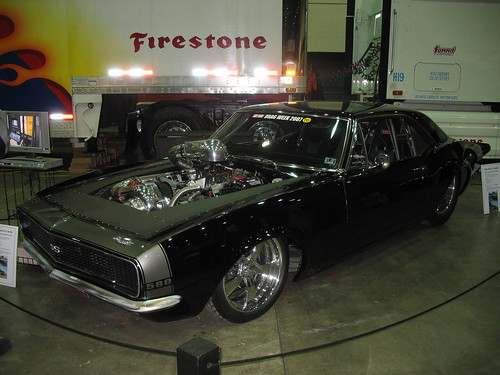
 Awesome 1969 Camaro, most beautiful muscle car ever built in my opinion.
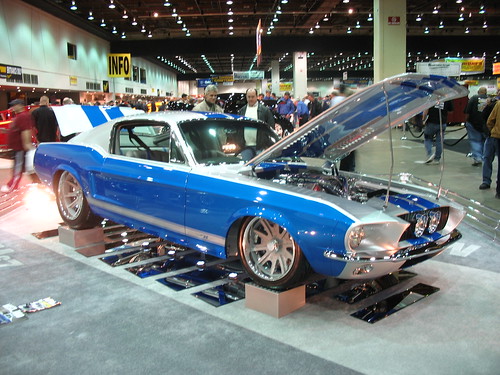

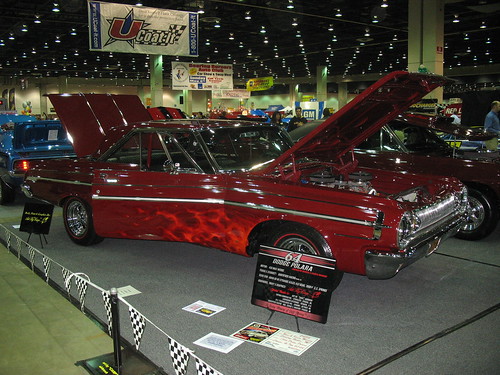
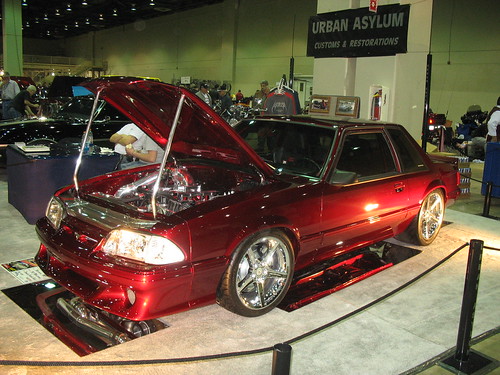
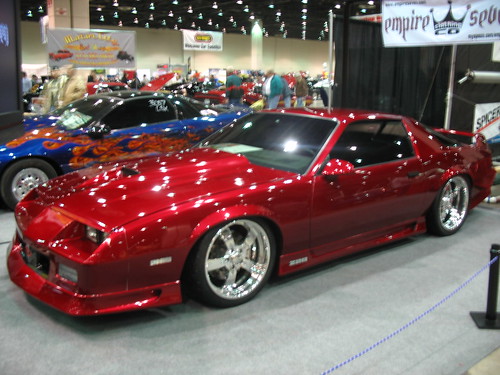 While no 3rd generation Firebirds were there, there were a few Camaros from the era. This with a sweet candy apple spray on it.

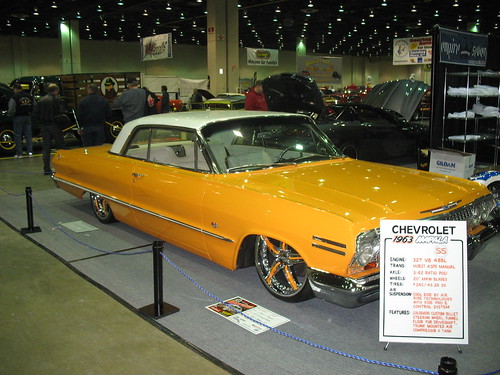
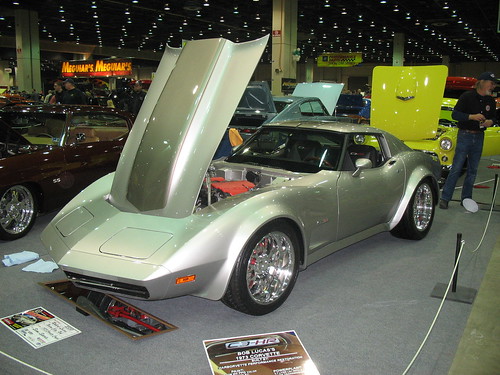
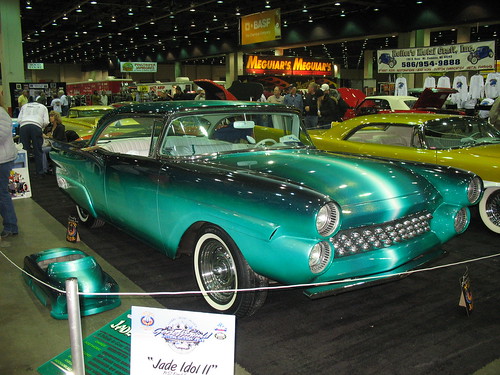
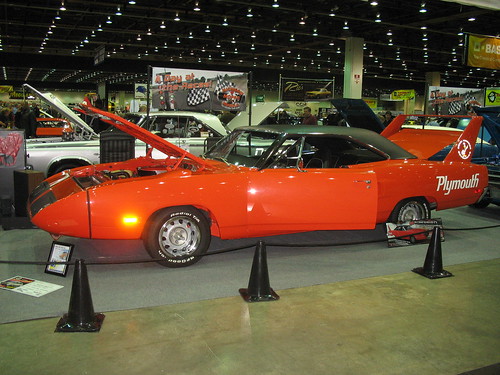
 Never understood it, probably never will, it just is.