Friday, August 06, 2010

Glass installed.

Today I had my dad come up and give a helping hand with the car. I worked on the B&M shifter cable while dad cleaned up the front/rear glass channels. Once cleaned up, I helped install the rope seal, then we set the glass in place. I had to head to court (while dad gratefully polished the stainless trim), and upon my return we installed the front/rear trim. Dad polished up the bumpers, and then headed home.

I worked on the car for a few more hours after dad left. I got the four electric fans installed on the radiator, after sanding the shroud slightly on one fan. I also got the rear seat back installed, after recently removing it to install the seatbelts. Not that there is enough room for an actual person to comfortably fit back there, as they'd have to climb over all the monkey bars to get back there. Still, for display purposes, I thought I'd give the illusion of a functional backseat.

A few days prior I also finished installing the power steering pump brackets and belt as well as running my fuel lines. Fuel system is ready to go! I'm getting down to just the electrical in order to fire this baby up! Sunday, I could very well accomplish that. I suppose I should pick up some anti-freeze, power steering fluid, and brake fluid eh?


Tuesday, August 03, 2010

Bonneville Salt Flats

I was recently sent this article, published by Popular Mechanics. Though the term only gained mass popularity a few years ago, we are all now well aware of what a "Bucket List" is. While I've never referred to mine as a bucket list, I do have a list of automotive accomplishments I wish to make. Amongst the list of spectator events and race participation sits a visit to Bonneville. I don't wish to simply go and watch, though I think that would be my first step. No, I wish to run a car there, quite possibly my 1989 Pontiac Formula after a thorough resto-med catered to the likes of high speed travel.

My Camaro is my drag/street car. I'll continue to modify, lighten, and cater that car towards going fast in the 1/4 mile. I would however like another car, which is built with respect to just the opposite, speed over a great distance. With a kid on the way, the first of more to come, those plans...much like the car, will sit somewhere dormant, collecting dust. Someday however, when time and money permits, I'd like to knock that dust off to the tune of 200+ mph.

Here is the article, which has a nostalgic feel to it, the days when road trips across the country were much more common than they seem today. Perhaps it's because it was taken in a couple of cars destined to be American classics the day they rolled off the assembly line.

Mustang vs Camaro - Bonneville

Monday, August 02, 2010

Brackets, Brakes, and Shifter.

I attempted to knock a few quick/easy items off the list, and of course, they weren't quick or easy. Considering I got my new power steering brackets the other day, specifically for a 69 Camaro with a big block chevy, I figured I'd tackle that first so all the accessories would be good to go. After figuring out which brackets went where, I began bolting the brackets on the pump. Lastly, I attempted to bolt the third bracket to the block. After trying to figure out how the bracket went on, I resorted to the factory assembly manual I had in the garage. Unfortunately, even after finding out how it was SUPPOSE to install, it wouldn't go on.

The holes on the block side weren't even close, and the lip around the top may have worked for an all original big block with exhaust manifolds, but it wasn't gonna fly with my headers. I first tried to grind the holes with an air grinder, though I needed to take out a lot more metal than that. I ended up getting out the Sawzall and cut the lip off and turned the top hole into a slot. It looks pretty crude, I didn't bother painting it, but it'll do the job for now.

Next I worked on the brakes for a bit. I took a wire wheel to both sides of both front rotors and cleaned them up like new. I was skeptical, as they had 8 years of surface rust build up, but they cleaned up easy. I struggled with the passenger side caliper for awhile, as the bolts didn't want to thread straight, but I finally got it mounted. Driver side went on smoothly. I also mounted my new Wilwood master cylinder to the firewall and mounted my shifter to the tunnel.

I have a friend scheduled to come up this Sunday to help with the brakes, mostly because I'd prefer to use his Snap-On brake line flare kit, instead of my made in China kit I bought for bending, cutting, and flaring my fuel line. My dad is likely going to come up Friday to help out with some of my list, and help me set the front and rear glass in place. I'm hoping that by Sunday the brakes we'll be working on will be the final touches to get it road worthy.


Tuesday, July 27, 2010

After a few minor issues, major progress finally made.

I made more progress today than I've made in awhile. After tackling the biggest issue, the headers, the rest of the day went smoothly and I got a lot accomplished. I first removed the passenger side header, as I was unable to tighten one of the spark plugs on that side due to header interference. After tightening it, I realized there was still going to be an issue installing the plug wires. A few...ok... A LOT of smacks with both a steel mallet and sledge hammer created some clearance. Though still tight, as the silicon boot actually touches the primary tube, it's the best I can do for now. Their Taylor wires, which I've found to be the most tolerant to heat, so I'm keeping my fingers crossed.

Next on the list was to install the alternator, brackets, and belt since I was working on that side already. After a few washers here and there to get the alignment right, that was finished. I have the MDS 6AL box and Blaster 2 coil mounted on the fire wall, as well as the fuel line from the pump to the carb, including filter. I then installed the radiator support brackets, tightened up the radiator supports, and moved to the driver side.

After loosening up the driver side header, I was able to install the pitman arm. I followed up by installing the rag joint to the new 12.7-1 steering box, then attaching the steering column. I tightened up the header, reinstalled the spark plugs, and installed the spark plug wires/holders on both sides. The exhaust on the passenger side is all done, I still need to bolt the exhaust to the header on the driver side. Last project for the day was bending the transmission cooler lines and flaring the ends.

The list is getting short, and the hardest parts seem to be over. I have a new MSD distributor gear on the way, after realizing the one I bought several years ago was defective. While I didn't get a free replacement, I did get one for $41, a fraction of the $115 new price. Can't exactly complain about that. My Sears Diehard battery seems to be taking a charge, so I'm hoping I won't need to buy a new one. While I didn't fire up the engine last week as I had hoped, I do anticipate starting it within a week or two. If I don't, the I likely won't make the Woodward Dream Cruise this year.


Friday, July 23, 2010

A little progress, way more headaches.

I headed back out to the garage, after taking a bit of a break. I was rewarded with near record temps in the 90's and humidity nearly 100%. Over the last two days I drank an unmeasurable amount of liquid and came in soaking wet both days. If that wasn't enough, I made very little progress, though not due to lack of trying. It's just everything I did seems to have been full of problems. I did manage to get the gas tank, crank pulley, and seatbelts installed without issue. I fought with the headers, more so with the driver side...which took about 2 hours to finally get on. Then, as I attempted to install the pitman arm on the steering box, I realized it looks like I'll have to remove the driver side headers in order to get it on. I'm hoping I'll be able to loosen it enough and slip it on.

The passenger side header, which is way less congested, I figured was in the clear. That is until I installed the spark plugs yesterday and realized I don't have access to get the #2 plug tight no matter what I try, so that header will likely be coming off as well. Back to the pitman arm, I installed the steering box with the late model pitman arm still on it, thinking it would be easier to remove once installed. My impact wrench is on it's last leg, so I had to improvise and create my own breaker bar. A 12 inch breaker bar and two jack handles later, I had the leverage I needed. So much leverage in fact that it twisted the square drive off the breaker bar, though not before breaking loose the pitman nut. Next I borrowed a pitman arm puller from a friend and pulled the arm without much issue. That was when I discovered the new arm wasn't going to slide on like I had hoped, so that header may be loosened or removed.

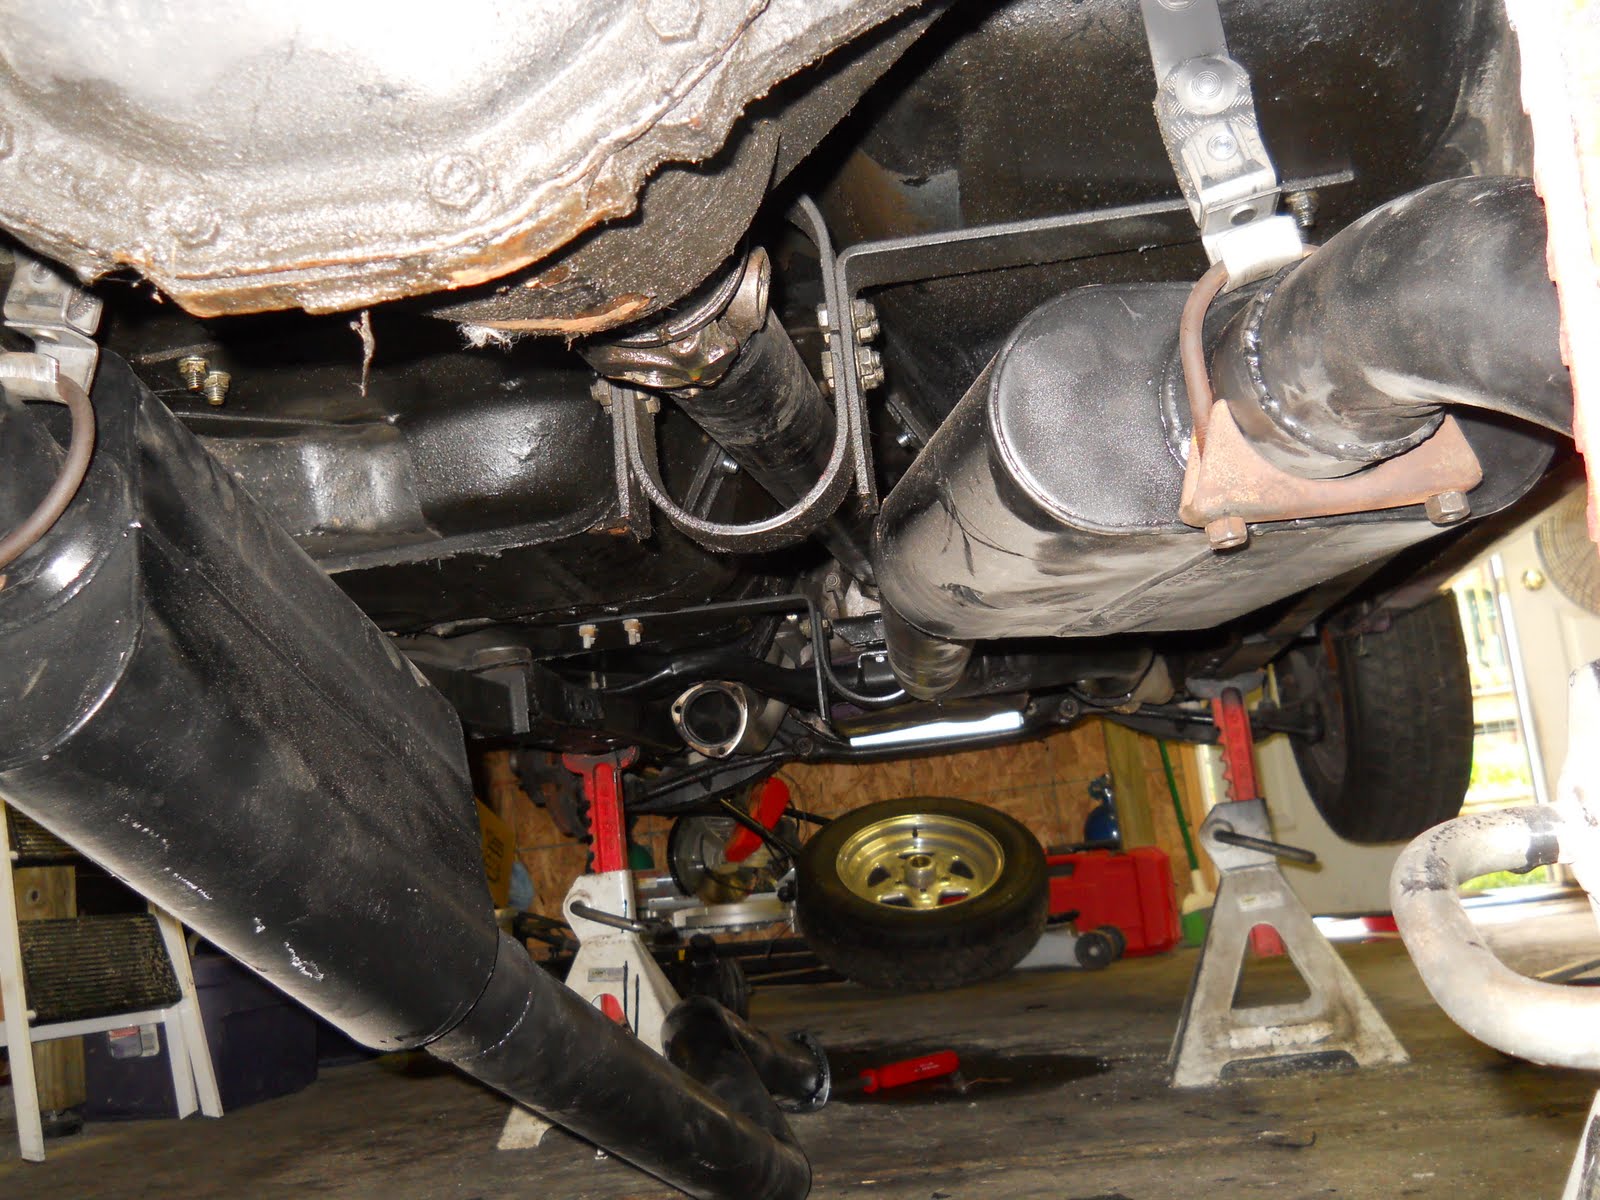
Lastly, I got the exhaust partially mounted. I didn't want to spend too much time on it, since it too may have to come off when I remove the headers. Mostly, I just wanted it off the floor and out of my way, which bolting it on made the most sense. The last headache I had was when I tried to install the composite gear on my MSD distributor. After about a dozen attempts I realized it wasn't me, the gear had not been cross drilled straight. I just got off the phone with Comp Cams and it sounds like they will stand behind it, regardless of the fact that I bought the gear a few years ago. I just now opened it and realized it was defective. Shame on me, but thanks to Comp Cams for still covering their products against defects.

So as you can see, it was a miserable/discouraging couple of days working on the car. I'm going to take a couple of days off, then dig back into it on Monday. There really isn't any one overwhelming project left, aside maybe getting the brake system installed, which will be time consuming. Yet with things going anything but smoothly, with the clock ticking for the Dream Cruise, time is not on my side.