Tuesday, July 20, 2010

Cooling, steering, and fuel.

Just a quick run down before heading to work on yesterday's progress. Everything was quick and easy bolt-ons yesterday. The Aluminum Griffin is mounted, though the bottom bolts and fans still need installing. I've got the 3rd generation F-body steering box (XH model) with 12.7-1 steering, for a better performance feel. The necessary rag joint and steering hose inserts are on their way from California. The Fuel pump is installed and ready to go, with the fuel line kit arriving on Saturday, awaiting installation.

I have the Ididit column in the car, though will have to probably loosen it up a bit to install the rag joint. The AC Delco oil filter, the 1218 (for nearly 1 qt capacity) was installed, along with about 9 qts for 20w-50 oil. I installed the dipstick, which I must not, the Moroso pan has a pretty awesome compression fitting to hold it in place.

I also installed the wiper motor, and sat the rear windshield in place, more less to get it out of the way. I went to install the exhaust and quickly realized I lack header gaskets. This morning, I took a trip downriver and picked up a set of gaskets and plan on installing the full exhaust system tomorrow. I'm back to work for 2 days, then off for two. I hope to get the ignition, steering, shifter, and fuel system all buttoned up over those days. Then I'll start tackling the electrical. I could very well fire the engine up before the weekend, though I wouldn't bet on it, as nothing goes as smoothly as planned.

Though I may not record the initial fire up, I will attempt to upload a video as soon as possible after she's running.


Saturday, July 10, 2010

2010 Dodge Challenger Convertible

Just because Chrysler won't build it doesn't mean it can't be done. Drop Top Customs by Convertible Builders LLC seems to be doing a VERY professional job when it comes to turning your hardtop into a convertible. Oddly, even with the new Camaro due out in the very near future, they went ahead and started building their own Camaro convertibles. This company also will do Cadillac CTS's, Chrysler 300's, is working on T-Tops for the new Camaro, and pretty much whatever your dreams may desire!

Detroit News article on Drop Top Customs

Drop Top Customs website

Wednesday, July 07, 2010

The Paddock closes it's doors

April 30, 2010 The Paddock closed it's doors. A car restoration company that had been around since 1965, I had done my fair share of ordering from the Paddock when restoring my Camaro back in the late 1990's. I believe the first parts I ever ordered may have actually been from them.

While living in Indianapolis back in 2000, I decided to take a drive out into the coutryside and see just where they were located. I recall the trip, as I remember it was further than I anticipated, and in a much smaller town than I envisioned. I'm pretty sure it was a one stoplight town.

The shop was nothing special, but their stock of parts was amazing. I can't even recall what I bought that day, as it was more about the trip than the parts. It's a shame to see such a fixture of the restoration community go out of business, as one most be a bit concerned as to whether or not other restoration companies aren't struggling just as bad. Without these companies, our hobby would die.

Paddock Closes

Chrysler announced "Mopar Edition" Challenger

Chrysler announces a special "Mopar Edition" Challenger.


Special Mopar Edition Dodge Challenger

Sunday, July 04, 2010

Seats and hood installed.

Yesterday I got the seats installed. What I thought was going to be a quick and easy 15 minute job, turned into a several hour ordeal. The back seat practically drops into place, the front seats were a different story. Once setting the passenger seat in position, I realized that the holes were not going to line up. The side bracket, attaching the back of the seat to the bottom, was interfering with the rollcage cross bar. Initially I attempted to give the bracket a few smacks with a sledge hammer, hoping to flatten it out enough to work. That didn't work. Next, I disassembled the seat, installed the seat bottom first, then used pry bars to wedge the side brackets back into position. I got the seats to fit, though it's difficult to flip the seat forward. That's fine, because while the back seat is in place, it's really only there for looks, as it's nearly impossible to get back there.

I also painted up the gas tank and hood hinges. While stripping the hood hinges down with an angle grinder armed with a wire wheel, I managed to do some damage...to myself. The wire wheel slipped off the hinge, grabbed hold of my t-shirt, and bit me good in the stomach. It took me awhile to unravel the t-shirt from the tool, I then headed into the house to clean up the wound. Nothing too severe, but it hurt like hell cleaning it up.

After painting up the hinges, I installed them on the car. Last step for the day was moving the hood out of the basement and installing it on the car. I also lowered the car off the jackstands so that the engine weight could start to settle the suspension into place.


Wednesday, June 30, 2010

Water pump installed, wiring harness unraveled, torque convertor bolted up.

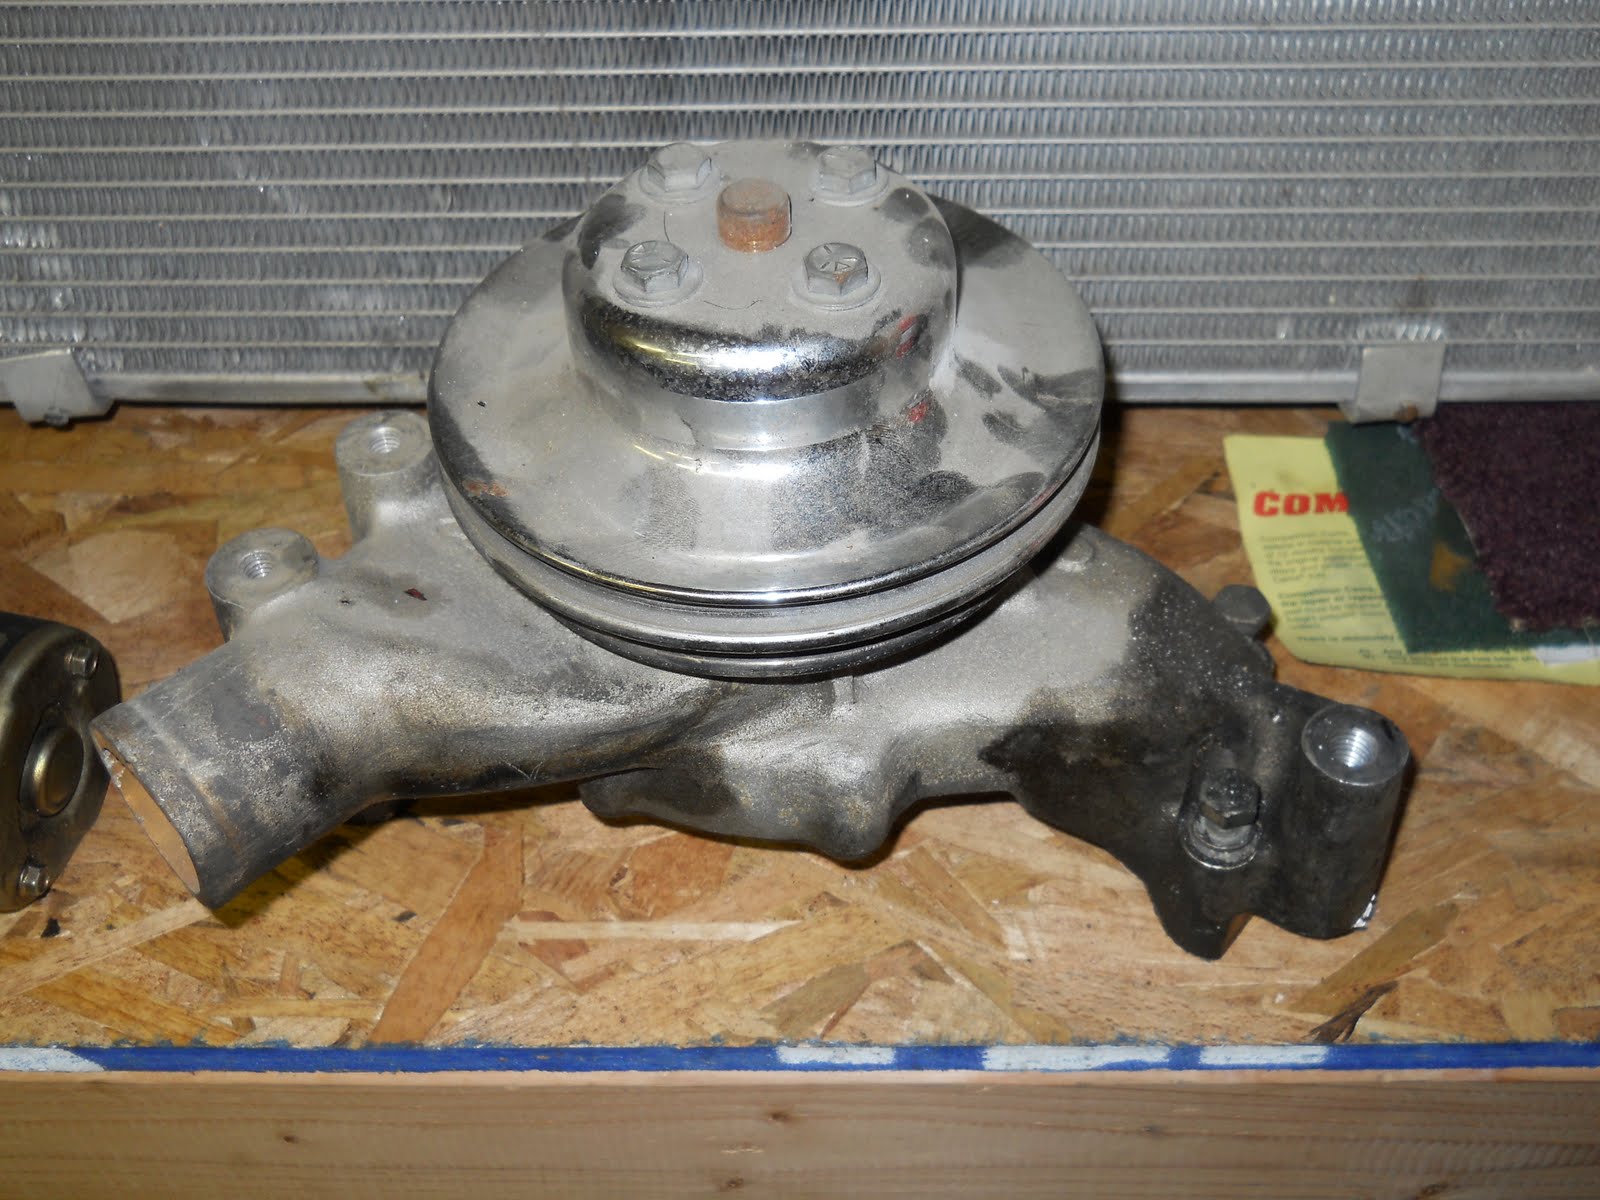
Today I got some additional work done on the Camaro. I started out by cleaning up the water pump bolts, cleaning the water pump, and installing it on the engine. I located some teflon tape in my toolbox, so I avoided a trip to O'Reily's.

After the water pump I figured I'd bolt the torque converter to the flex plate. Upon crawling under the car, I realized the bolts I thought were for the converter were actually some extra bolts I had for the flex plate. I looked through my box-o-bolts, and couldn't located anything that would work. I instead concentrated on the wiring harness and figured I'd take a walk to the nuts and bolts store in a bit.

The wiring harness wasn't nearly as bad as it looked in the picture. Once I got the main splits separated, it all started to sort itself out. Soon I had it organized enough that I placed the fuse block in the car and ran the main leads to the trunk and under the hood. What was left should be easy enough to figure out, its basically the steering column harness, ignition, low/high clicker for the lights, and dash power. Not much else left to figure out. I do need to re-solder all the lights in the front, as I simply cut the harness...I must have been in a hurry.

After a trip to the nut and bolt shop I crawled back under the car and bolted up the converter. After that I decided to start cleaning up the hood hinges and gas tank with a wire wheel to prepare them for paint. I also sprayed down the steering box and checked the lines I had for fitment. I was happy to find what I have will connect fine. I'll double check to see whether this more modern box requires a different pump or not. If so, I will likely need new lines. Tomorrow I hope to mount the steering box, perhaps work on wiring up some of the electrical, and get some paint on that tank and hinges.

I go back to work on Monday. I hope to have the brake calipers on, rotors cleaned up, and hood on the car by then. If I can get all that done, I'll be sittin' good.


This is the mess I started with.


Engine bay/front light harness.

The harness looks much cleaner/manageable once I got the front and rear feeds out of the way.


Tail light harness.


Tuesday, June 29, 2010

The King has his crown.

Today I ventured out in the garage and knocked out a few quick/easy things. I got the carb mounted, which entailed a trip up to my neighborhood screw/nut/bolt store. Let me just say, I have perhaps the best fastener store around within walking distance. I already told them upon my first visit the other day "Expect to see me a lot more often." I've been there 3 times just this week. Once my car is on the road, and things get a bit more organized, I'm going to buy an assortment of fasteners from them and an organizer, so I always have a healthy supply of odds and ends handy.

After the carb was in place, I cleaned up the air cleaner assembly, getting it at least half way respectable. Then I used my K&N recharge kit to clean and oil my air filter. After that I got the water pump cleaned up, though realized I didn't have any liquid teflon for the bolts, so that'll get installed tomorrow. I slid under the car to install the starter and quickly realized the new oil pan was gonna cause problems. Luckily, my starter I have is highly customizable in regards to mounting positions and I was able to get it fitted and mounted.

I went to assemble the air cleaner and found that the stud was from the Challenger, and much too short for my tall air cleaner. Another trip to my new favorite shop had me back in business, and the King was crowned. To end the day, I got up in the attic and brought down my exhaust system. I had painted it up a few years ago, after leaking trans fluid had taken it's toll on it's natural silver color. It wasn't exactly the kind of patina I was going for, so some high temp black was sprayed on them.

Tomorrow I hope to get the water pump mounted, MSD box and coil mounted, take a look at my stock gas tank and make sure it's sufficient. I should be able to knock all that out pretty quickly, so maybe then I'll start to untangle the wiring harness and at least get it layed out in the car. The "to do" list is growing shorter by the day!

Engine awaiting accessories.

Tilton high torque mini-starter, thankfully with numerous mounting positions.

Parts borrowed from dad's Challenger...temporarily on loan. Plan is to go with an 800 Demon, new MSD box, and perhaps another Blaster 2 coil. Hopefully by next season.

K&N Filter recharged with fresh oil.
Barry Grant 750 Race Demon installed.

Edelbrock aluminum water pump, pre-cleaning.

Water pump post-cleaning. Need some liquid teflon for the bolts before it can be installed.

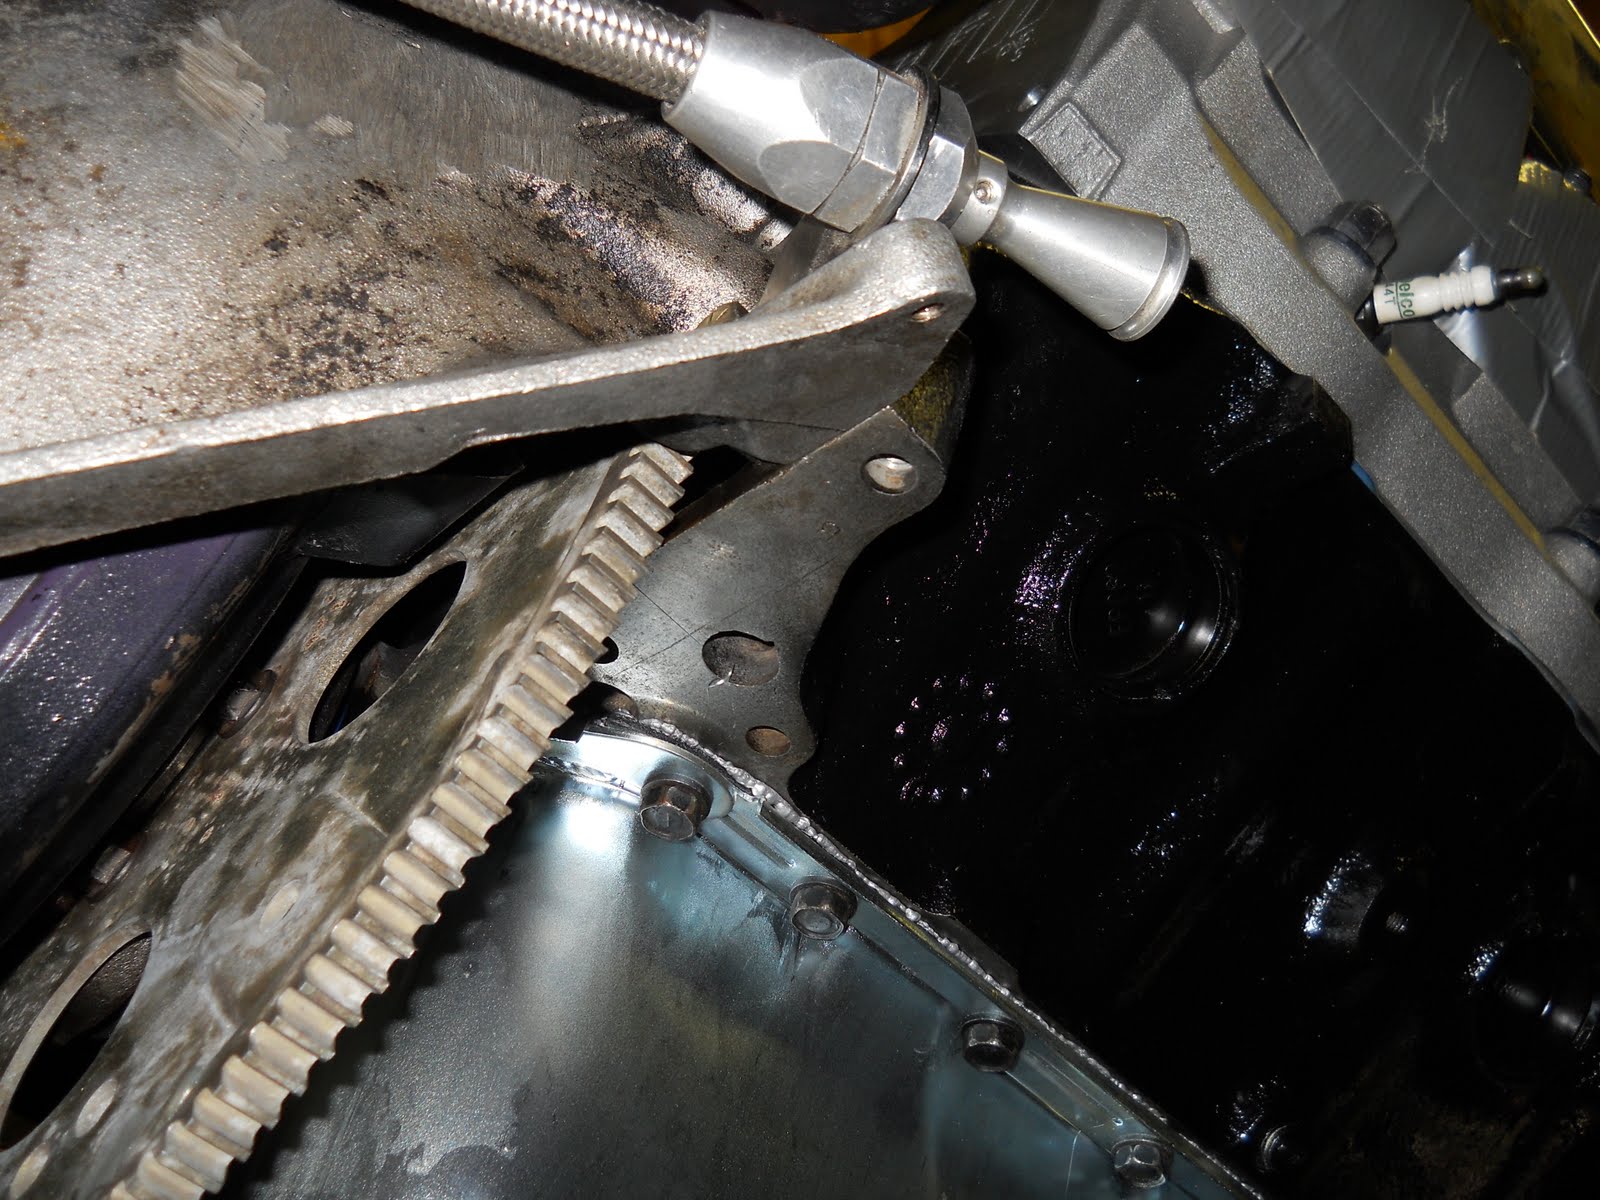
After a trial fit of the starter I found it wasn't going to bolt up without hitting the pan.

I had to unbolt the starter from the mounting plate and use an alternate bolt pattern. My new kickout style oil pan kicked out a bit too far, interfering with the starter relay.

Starter installed.

The King has his crown, and aint it beautiful?


I brought the exhaust down from the attic. 3 inch Flowmaster 2 Chamber race mufflers. Needless to say, they were loud before, they'll be louder now.