Tuesday, July 27, 2010

After a few minor issues, major progress finally made.

I made more progress today than I've made in awhile. After tackling the biggest issue, the headers, the rest of the day went smoothly and I got a lot accomplished. I first removed the passenger side header, as I was unable to tighten one of the spark plugs on that side due to header interference. After tightening it, I realized there was still going to be an issue installing the plug wires. A few...ok... A LOT of smacks with both a steel mallet and sledge hammer created some clearance. Though still tight, as the silicon boot actually touches the primary tube, it's the best I can do for now. Their Taylor wires, which I've found to be the most tolerant to heat, so I'm keeping my fingers crossed.

Next on the list was to install the alternator, brackets, and belt since I was working on that side already. After a few washers here and there to get the alignment right, that was finished. I have the MDS 6AL box and Blaster 2 coil mounted on the fire wall, as well as the fuel line from the pump to the carb, including filter. I then installed the radiator support brackets, tightened up the radiator supports, and moved to the driver side.

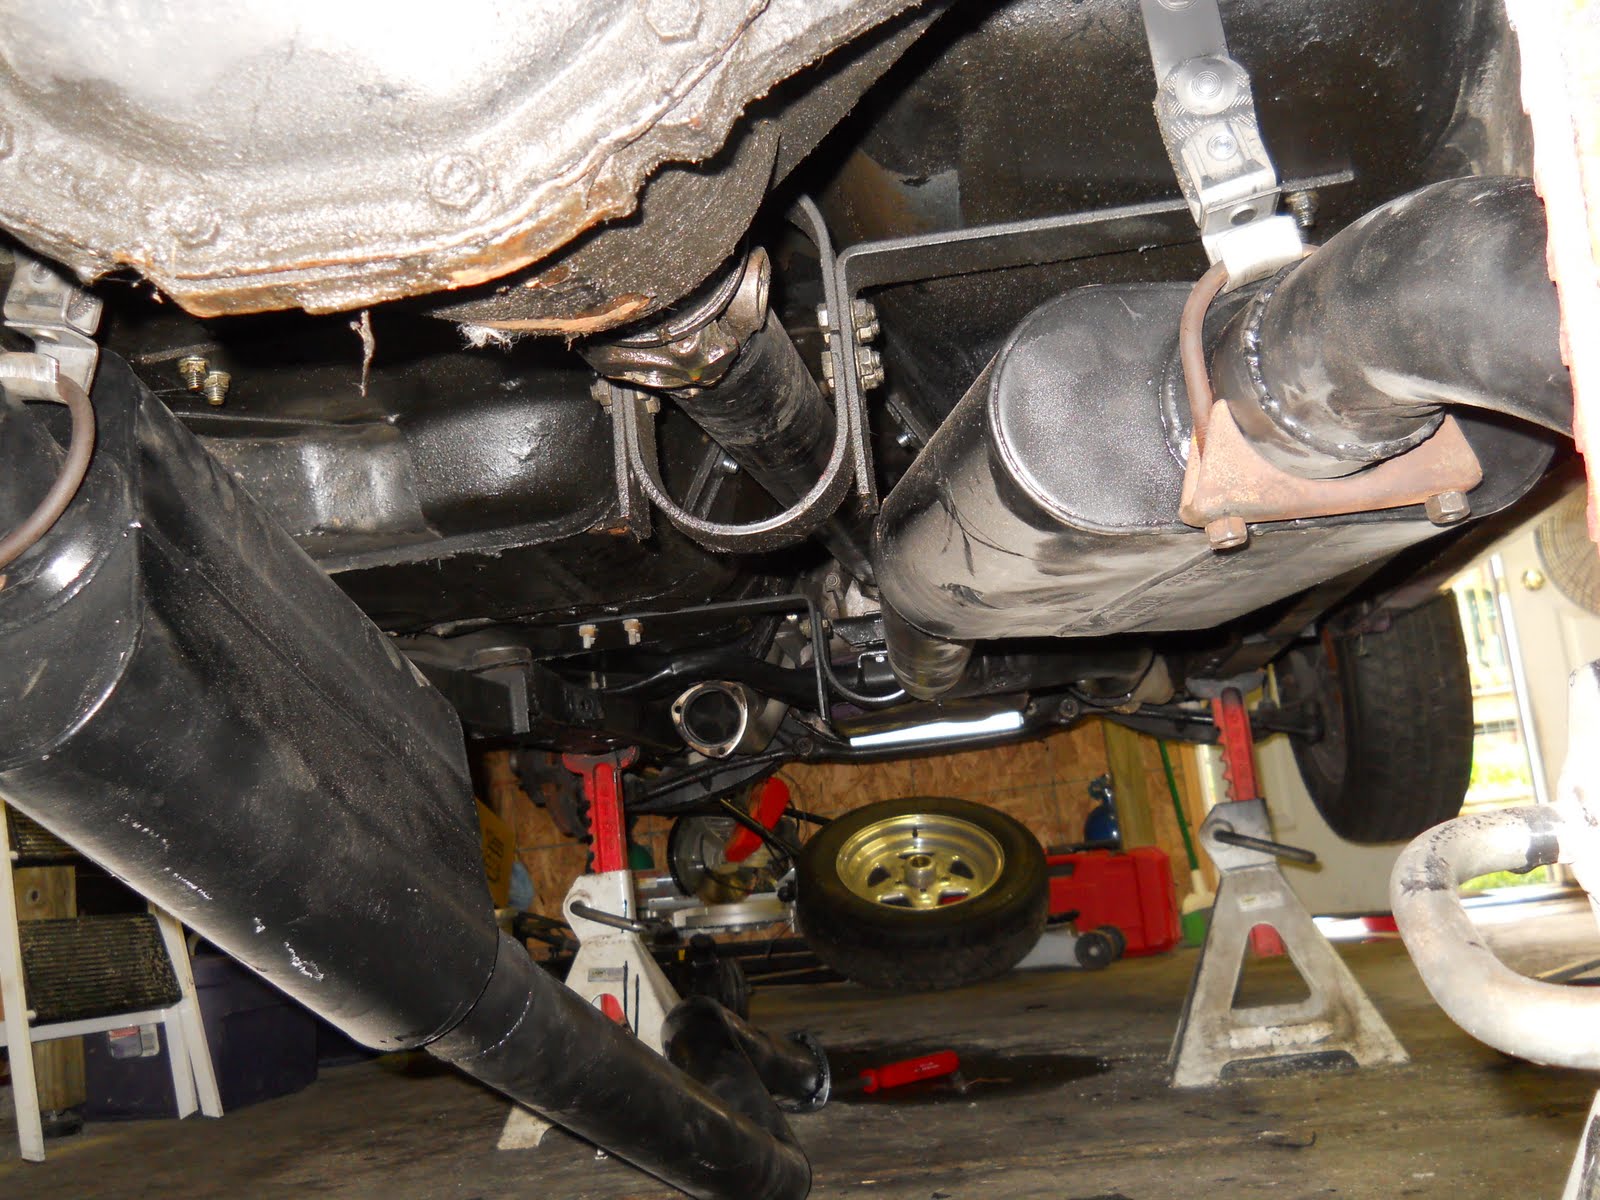
After loosening up the driver side header, I was able to install the pitman arm. I followed up by installing the rag joint to the new 12.7-1 steering box, then attaching the steering column. I tightened up the header, reinstalled the spark plugs, and installed the spark plug wires/holders on both sides. The exhaust on the passenger side is all done, I still need to bolt the exhaust to the header on the driver side. Last project for the day was bending the transmission cooler lines and flaring the ends.

The list is getting short, and the hardest parts seem to be over. I have a new MSD distributor gear on the way, after realizing the one I bought several years ago was defective. While I didn't get a free replacement, I did get one for $41, a fraction of the $115 new price. Can't exactly complain about that. My Sears Diehard battery seems to be taking a charge, so I'm hoping I won't need to buy a new one. While I didn't fire up the engine last week as I had hoped, I do anticipate starting it within a week or two. If I don't, the I likely won't make the Woodward Dream Cruise this year.


Friday, July 23, 2010

A little progress, way more headaches.

I headed back out to the garage, after taking a bit of a break. I was rewarded with near record temps in the 90's and humidity nearly 100%. Over the last two days I drank an unmeasurable amount of liquid and came in soaking wet both days. If that wasn't enough, I made very little progress, though not due to lack of trying. It's just everything I did seems to have been full of problems. I did manage to get the gas tank, crank pulley, and seatbelts installed without issue. I fought with the headers, more so with the driver side...which took about 2 hours to finally get on. Then, as I attempted to install the pitman arm on the steering box, I realized it looks like I'll have to remove the driver side headers in order to get it on. I'm hoping I'll be able to loosen it enough and slip it on.

The passenger side header, which is way less congested, I figured was in the clear. That is until I installed the spark plugs yesterday and realized I don't have access to get the #2 plug tight no matter what I try, so that header will likely be coming off as well. Back to the pitman arm, I installed the steering box with the late model pitman arm still on it, thinking it would be easier to remove once installed. My impact wrench is on it's last leg, so I had to improvise and create my own breaker bar. A 12 inch breaker bar and two jack handles later, I had the leverage I needed. So much leverage in fact that it twisted the square drive off the breaker bar, though not before breaking loose the pitman nut. Next I borrowed a pitman arm puller from a friend and pulled the arm without much issue. That was when I discovered the new arm wasn't going to slide on like I had hoped, so that header may be loosened or removed.

Lastly, I got the exhaust partially mounted. I didn't want to spend too much time on it, since it too may have to come off when I remove the headers. Mostly, I just wanted it off the floor and out of my way, which bolting it on made the most sense. The last headache I had was when I tried to install the composite gear on my MSD distributor. After about a dozen attempts I realized it wasn't me, the gear had not been cross drilled straight. I just got off the phone with Comp Cams and it sounds like they will stand behind it, regardless of the fact that I bought the gear a few years ago. I just now opened it and realized it was defective. Shame on me, but thanks to Comp Cams for still covering their products against defects.

So as you can see, it was a miserable/discouraging couple of days working on the car. I'm going to take a couple of days off, then dig back into it on Monday. There really isn't any one overwhelming project left, aside maybe getting the brake system installed, which will be time consuming. Yet with things going anything but smoothly, with the clock ticking for the Dream Cruise, time is not on my side.


Tuesday, July 20, 2010

Cooling, steering, and fuel.

Just a quick run down before heading to work on yesterday's progress. Everything was quick and easy bolt-ons yesterday. The Aluminum Griffin is mounted, though the bottom bolts and fans still need installing. I've got the 3rd generation F-body steering box (XH model) with 12.7-1 steering, for a better performance feel. The necessary rag joint and steering hose inserts are on their way from California. The Fuel pump is installed and ready to go, with the fuel line kit arriving on Saturday, awaiting installation.

I have the Ididit column in the car, though will have to probably loosen it up a bit to install the rag joint. The AC Delco oil filter, the 1218 (for nearly 1 qt capacity) was installed, along with about 9 qts for 20w-50 oil. I installed the dipstick, which I must not, the Moroso pan has a pretty awesome compression fitting to hold it in place.

I also installed the wiper motor, and sat the rear windshield in place, more less to get it out of the way. I went to install the exhaust and quickly realized I lack header gaskets. This morning, I took a trip downriver and picked up a set of gaskets and plan on installing the full exhaust system tomorrow. I'm back to work for 2 days, then off for two. I hope to get the ignition, steering, shifter, and fuel system all buttoned up over those days. Then I'll start tackling the electrical. I could very well fire the engine up before the weekend, though I wouldn't bet on it, as nothing goes as smoothly as planned.

Though I may not record the initial fire up, I will attempt to upload a video as soon as possible after she's running.


Saturday, July 10, 2010

2010 Dodge Challenger Convertible

Just because Chrysler won't build it doesn't mean it can't be done. Drop Top Customs by Convertible Builders LLC seems to be doing a VERY professional job when it comes to turning your hardtop into a convertible. Oddly, even with the new Camaro due out in the very near future, they went ahead and started building their own Camaro convertibles. This company also will do Cadillac CTS's, Chrysler 300's, is working on T-Tops for the new Camaro, and pretty much whatever your dreams may desire!

Detroit News article on Drop Top Customs

Drop Top Customs website

Wednesday, July 07, 2010

The Paddock closes it's doors

April 30, 2010 The Paddock closed it's doors. A car restoration company that had been around since 1965, I had done my fair share of ordering from the Paddock when restoring my Camaro back in the late 1990's. I believe the first parts I ever ordered may have actually been from them.

While living in Indianapolis back in 2000, I decided to take a drive out into the coutryside and see just where they were located. I recall the trip, as I remember it was further than I anticipated, and in a much smaller town than I envisioned. I'm pretty sure it was a one stoplight town.

The shop was nothing special, but their stock of parts was amazing. I can't even recall what I bought that day, as it was more about the trip than the parts. It's a shame to see such a fixture of the restoration community go out of business, as one most be a bit concerned as to whether or not other restoration companies aren't struggling just as bad. Without these companies, our hobby would die.

Paddock Closes

Chrysler announced "Mopar Edition" Challenger

Chrysler announces a special "Mopar Edition" Challenger.


Special Mopar Edition Dodge Challenger

Sunday, July 04, 2010

Seats and hood installed.

Yesterday I got the seats installed. What I thought was going to be a quick and easy 15 minute job, turned into a several hour ordeal. The back seat practically drops into place, the front seats were a different story. Once setting the passenger seat in position, I realized that the holes were not going to line up. The side bracket, attaching the back of the seat to the bottom, was interfering with the rollcage cross bar. Initially I attempted to give the bracket a few smacks with a sledge hammer, hoping to flatten it out enough to work. That didn't work. Next, I disassembled the seat, installed the seat bottom first, then used pry bars to wedge the side brackets back into position. I got the seats to fit, though it's difficult to flip the seat forward. That's fine, because while the back seat is in place, it's really only there for looks, as it's nearly impossible to get back there.

I also painted up the gas tank and hood hinges. While stripping the hood hinges down with an angle grinder armed with a wire wheel, I managed to do some damage...to myself. The wire wheel slipped off the hinge, grabbed hold of my t-shirt, and bit me good in the stomach. It took me awhile to unravel the t-shirt from the tool, I then headed into the house to clean up the wound. Nothing too severe, but it hurt like hell cleaning it up.

After painting up the hinges, I installed them on the car. Last step for the day was moving the hood out of the basement and installing it on the car. I also lowered the car off the jackstands so that the engine weight could start to settle the suspension into place.